Would you like to create a quiz where users receive a percentage grade at the end? AccessAlly Pro allows you to easily create this type of quiz with just a few clicks of the button.
Please follow the tutorial to learn how to set them up.
ARTICLE CONTENT:
Tutorial for Creating a Graded Quiz
Step 1: Create the Quiz
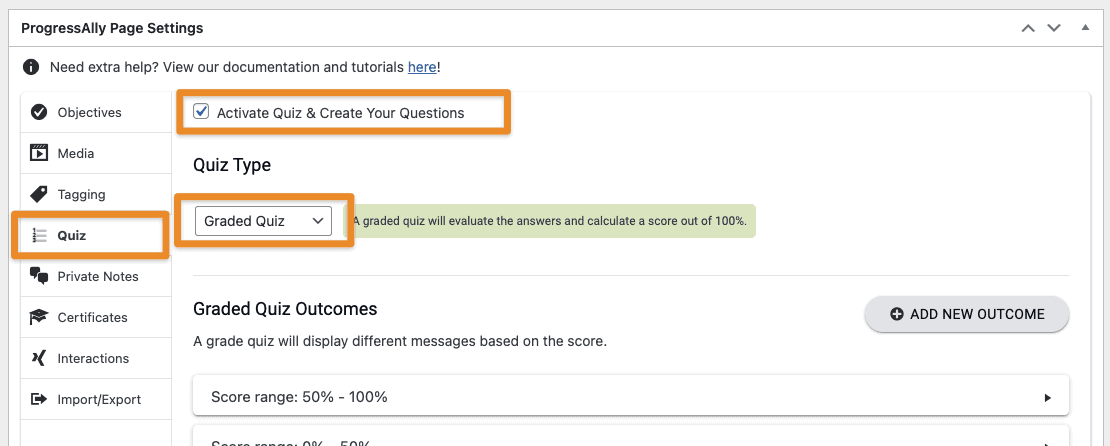
Edit the page you want the quiz to appear on. Scroll down to the ProgressAlly Page Settings area and click on the Quiz tab. Activate the Quiz and select Graded Quiz from the quiz type dropdown.
Step 2: Set Your Grading Outcomes
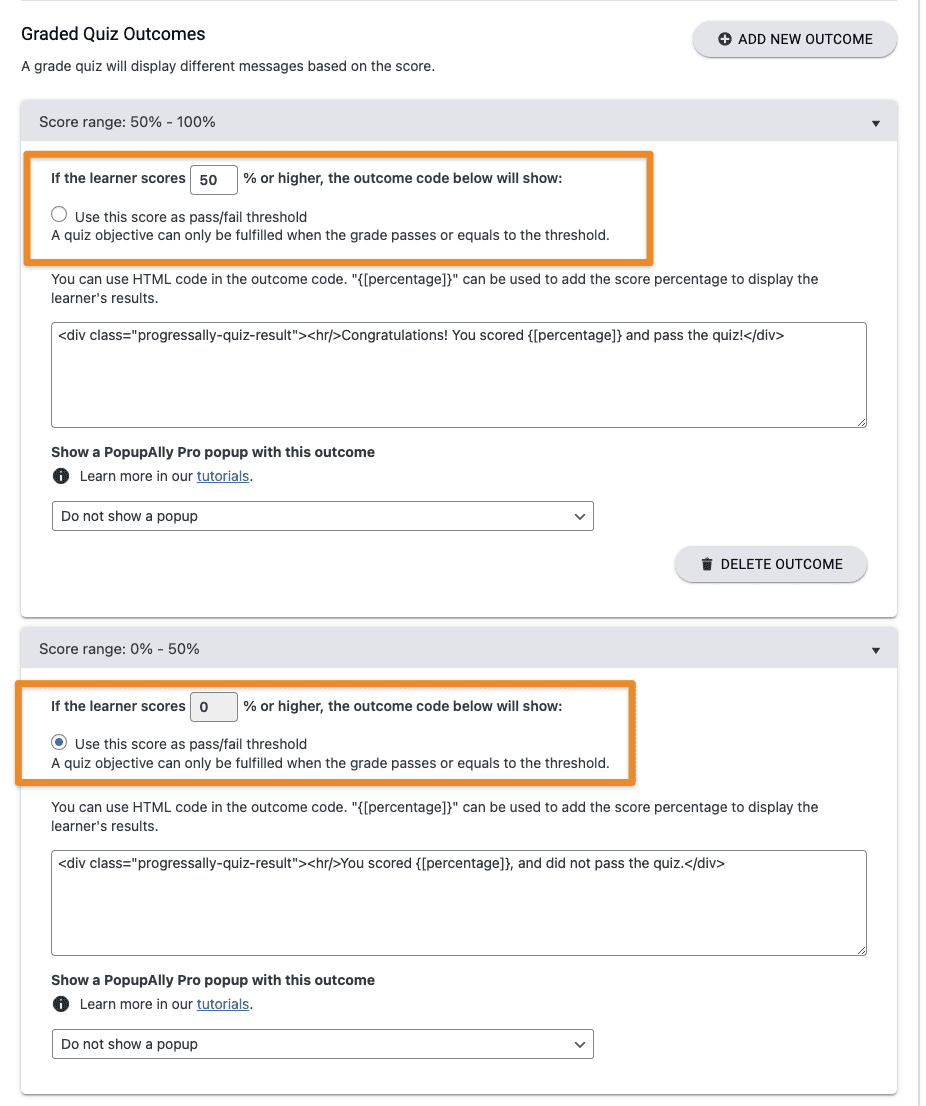
Create as many grading outcomes as you would like. You will need to set the percentage for each, and you can choose which one will pass the student to mark the objective as complete. In the example below 0-50% has been selected as the pass/fail threshold. This means any score of 0-100% will pass the student. If 50-100% had been selected instead, then a grade of 50-100% would be needed to pass.
Step 3: Add the Questions and Answers
Create your questions and answers. You can have as many as you would like. You can also set a different incorrect for each question.

Step 4: Finalize the Quiz Settings
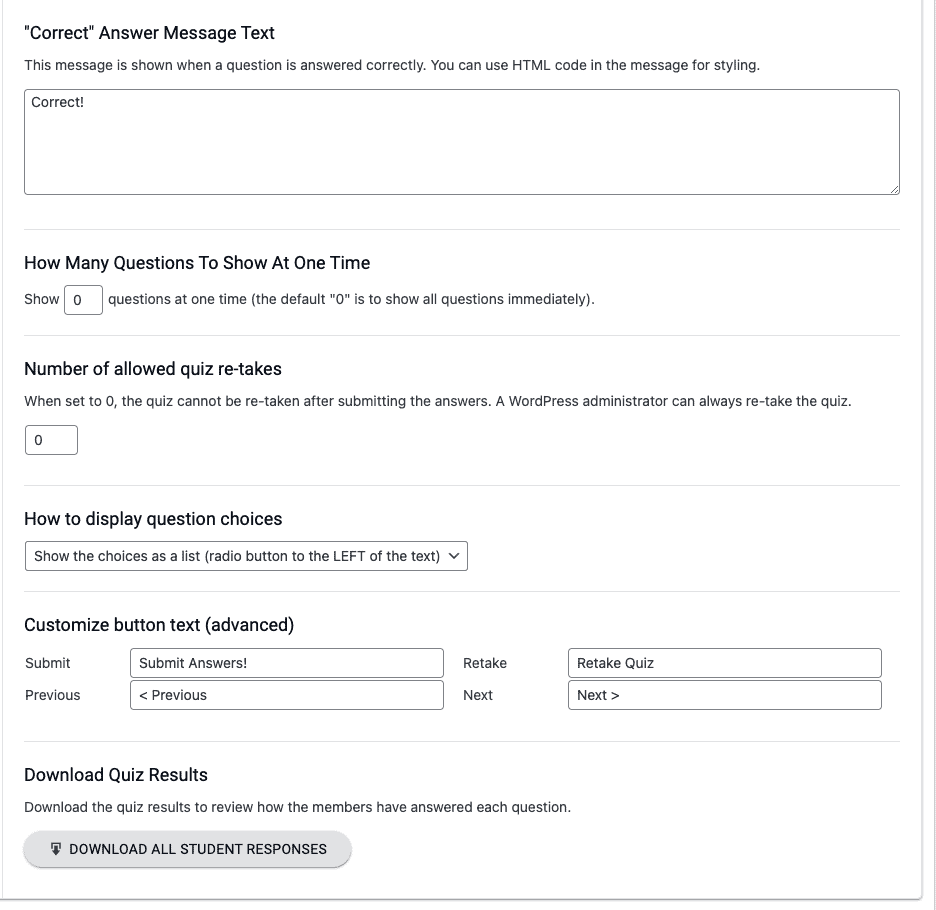
Set a correct answer message. This will show for all questions that are answered correctly. Choose how many questions to display at one time, or set it to 0 to show all questions. Choose the number of retakes allowed. Choose how to display your questions, with the radio button to the left or above each answer. Then customize the text of the buttons. NOTE: The retake Quiz button will always appear for Administrators. It will only appear for clients if you have quiz retakes enabled and they have not exceeded the number of retakes.
Step 5: Add the Quiz to the Page
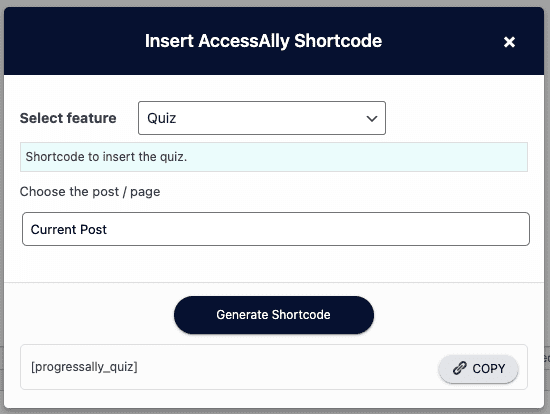
Add the quiz to the page using the shortcode adder. Be sure to publish the page when done.
Note: if the quiz is not defined in current page, the corresponding objective in the objective table won’t be auto-checked off.

