In this article, you’ll learn how to generate a limited-time coupon code from inside your site.
Imagine having the flexibility to create a unique discount code when someone:
- Opts-in to a free challenge, so you can share a time-sensitive discount on a paid course.
- Purchases a course and receives an exclusive discount code for your recurring membership.
- Completes a progress checklist item, and unlocks a VIP code for a 1:1 session with you
And, so much more!
ARTICLE CONTENT:
1. Prep Steps
In order to create the items shown in this article, you’ll need a CRM Activated Coupon. If you’re a ConvertKit user, you’ll also need a unique tag.
2. Create a Custom Operation
Our goal in this step is to generate the unique coupon code that your customers use at checkout.
Go to: AccessAlly > Settings > Custom Operations > “+ NEW OPERATION”
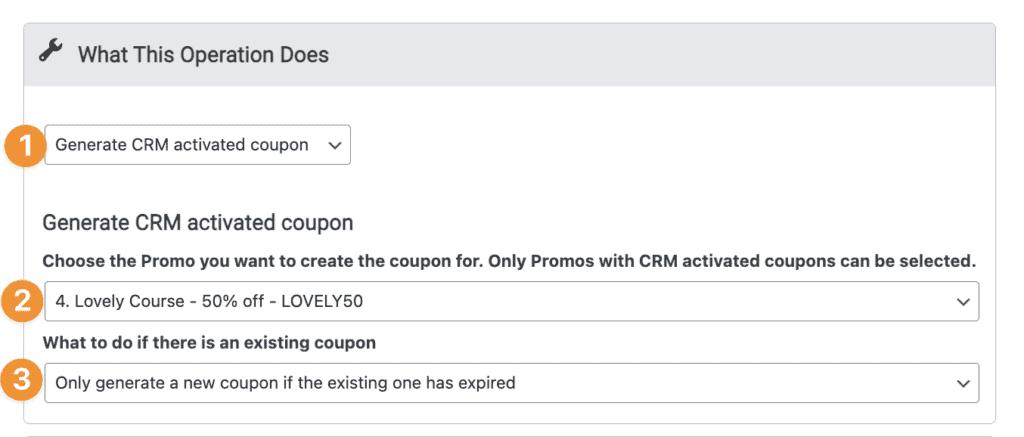
- Select Generate CRM Activated Coupon
- Add your CRM Activated Coupon from the dropdown. If missing visit Prep Steps above.
- Select what you’d like to happen if there’s an existing coupon code.
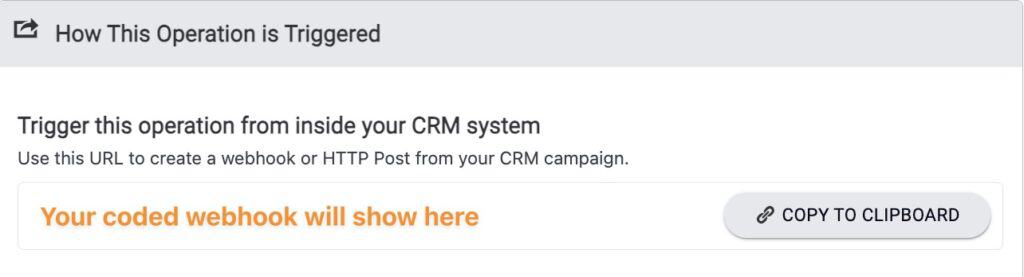
3. How This Operation is Triggered
For ActiveCampaign, Drip, Keap, and Ontraport UsersThis step is optional, copying this shortcode is only used in your CRM. The steps in this article will show you how to use this inside your AccessAlly site.
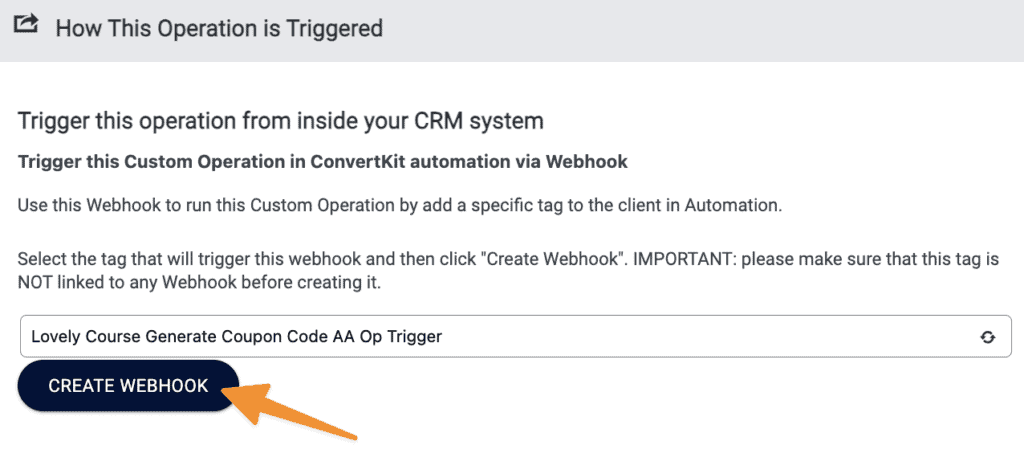
Add the unique tag you created in Prep Steps, click “CREATE WEBHOOK”, verify only one automation rule in ConvertKit, is using this unique tag.
4. Save Your Custom Operation
Now it’s time to save your custom operation.
- Click “SAVE”
- Completed view of your new custom operation. For ConvertKit users your unique tag will disappear upon SAVE, your automation rule is safely in your ConvertKit account.

5. Generating The Coupon Code
Now that you’ve created the custom operation, you can use it, to generate the coupon code.
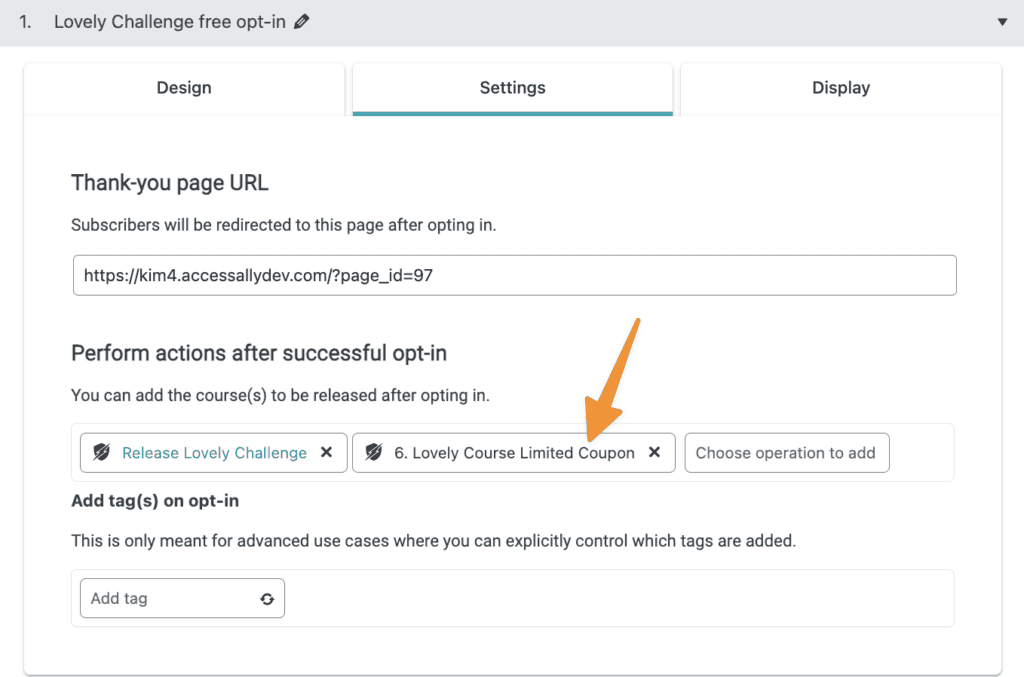
Add to an AccessAlly opt-in form.
Go to AccessAlly > Settings > Opt-in forms > Select your form > Settings Tab > Add custom operation after successful opt-in.
Now when someone opts-in the coupon code is generated for them automatically!
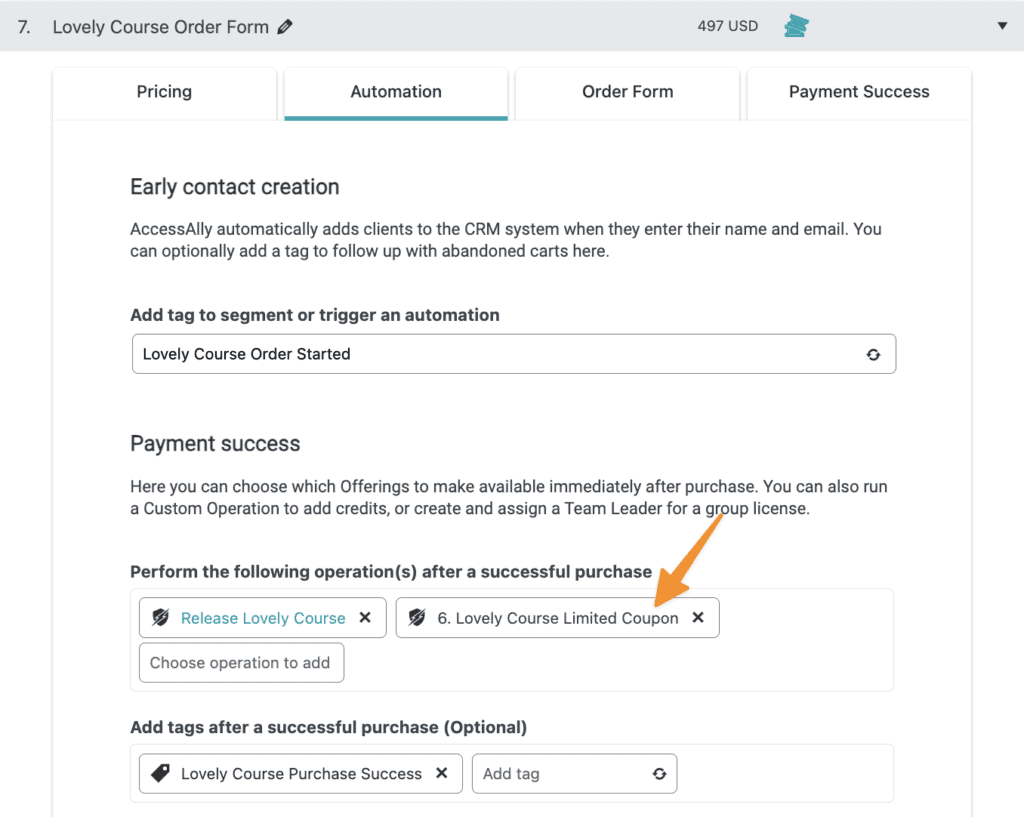
Add to an AccessAlly order form.
Now when someone makes a purchase, you can automatically generate a coupon code to discount a complimentary program!
Add upon objective completion.
Share a discount code when a participant completes items on an objective checklist.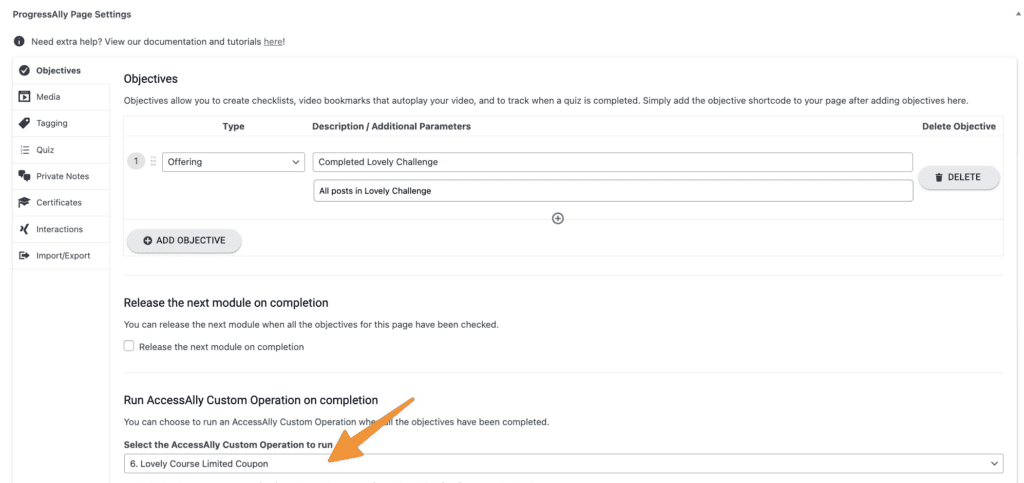
6. Next Steps
Now that you can generate the limited-time offer coupon in your AccessAlly site, it’s time to display this coupon so your customers can use it.

