We all know how short attention spans are getting – and guess who’s suffering the most?
- Your students and users!
While there’s nothing you can do to change their habits, you can adapt your approach by introducing microlearning courses into your curriculum.
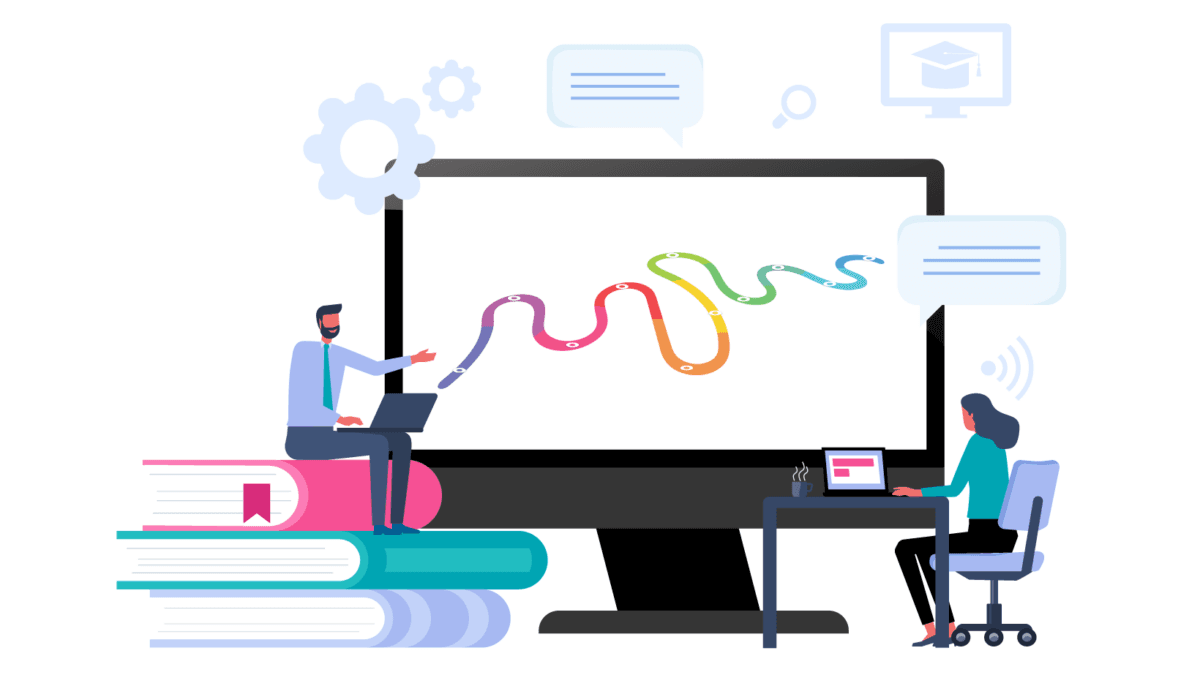
Microlearning courses are a system where you break down complex topics into small, bite-sized lessons focusing on one clear objective at a time. While the ideal length of microlearning courses should be a couple of minutes, that might vary depending on what you are teaching.
The ultimate goal of microlearning courses is to help learners absorb and retain information without feeling overwhelmed.
Before you get overwhelmed about how to do that, let’s assure you that you are in the right place. In this blog, we’ll discuss the step-by-step procedure for setting up microlearning courses for your LMS.
Let’s dive in!
What Are Microlearning Courses?
Though the term microlearning courses are self-explanatory, course instructors mostly struggle with how to get started. But if we are to define microlearning courses, it is a teaching method where you break down large, complicated courses into easily digestible smaller lessons.
For instance, if you’re teaching a broad topic like graphic design, instead of diving straight into complex topics, start with foundational lessons like color schemes – covering complementary and analogous colors – followed by an introduction to infographics and their purpose.
You can also add quizzes to reinforce learning before tackling advanced techniques. This will keep your learners hooked and ensure they do not feel overwhelmed at any stage.
A few more scenarios:
Digital Marketing Courses: In digital marketing, microlearning could begin with a quick “What is SEO?” module, introducing the basics, followed by an infographic comparing organic and paid traffic. Learners can then complete a short quiz to identify effective keywords, gradually progressing to mastering ad campaign optimization.
Coding Courses: In coding, start with drag-and-drop exercises for basic syntax, move on to lessons about variables and data types, and eventually tackle loops and functions once learners have built a strong foundation.
Soft Skill Courses: What’s there to even microlearn when it comes to soft skills? Well, unless you want your users to feel demotivated with all the information at one go, microlearning might be the solution here, too!
A communication course could start with a brief lesson on active listening, continue with a podcast discussing effective email writing, and conclude with a simulation where learners practice handling challenging workplace scenarios.
Benefits of Microlearning Courses
You can probably point out a few benefits of microlearning courses already, if not more! But if you are still not convinced whether microlearning courses fit your setup, let’s explore more.
Here are some of the key benefits of microlearning courses:
- Improved memory recall: Concise, targeted learning sessions make it easier for your users to retain and remember information.
- Boosted learner involvement: Engaging, interactive microlearning approaches hold attention and encourage active participation.
- Convenient access: Microlearning options allow individuals to fit education seamlessly into their schedules.
- Budget-Friendly: Cuts down on training expenses by streamlining development time and enabling resource reuse.
- On-Demand Knowledge: Delivers precise insights at the moment they’re needed, enabling immediate practical use.
Best Practices for Setting Up Microlearning Courses
Now that you know how beneficial microlearning courses can be regardless of your niche, it’s time to get familiar with the best practices. Understanding and complying with these will help you get the best results out of the microlearning courses you create.
Considering the best practices will also help determine the best approach for you. Let’s check them out.
Relevant Content
While it’s true that microlearning courses can do wonders, they won’t change a thing if the content is irrelevant to the users. You need to ensure that the content of your microlearning course is relevant to what your users are trying to learn.
Now, how do you ensure the relevancy of your microlearning courses?
Well, here are a few things you can do before you start crafting them.
- Survey learners’ needs and interests.
- Align content with real-world applications.
- Tailor scenarios to their challenges.
- Keep content updated.
Given you keep these points in mind, you’ll be able to prepare bite-sized courses that’ll address the pain points and interests of your learners. As a results, instead of walking away without completing the first lesson, your students will feel great about completing one after another!
Clear Learning Objectives
One common reason many online tutors struggle to teach and students struggle to learn is the lack of clear learning objectives.
However, when learners know exactly what they’ll gain from each lesson, they’re more motivated to complete the course. This is why you must ensure that your microlearning courses have clear objectives.
But it’s easier said than done!
You must spend enough time researching what comes after what and what’ll be the easiest learning route for your students. On top of that, here are a few more points that can help:
- Use action verbs to make objectives dynamic and achievable.
- Align assessments with objectives for accurate measurement of success.
- Clearly communicate expectations to learners upfront.
Bite-Sized Formatting
As the name suggests, microlearning courses need to be brief, explaining each topic separately if necessary. While it might make the course seem lengthy. It’ll help students understand each segment better in an easier way.
To prepare the right bite-sized lessons for your users, you need to consider things like lesson duration, topics, format, etc., while preparing the courses. A few other points that can also help you prepare more easily digestible courses are:
- Keep lessons under 10–15 minutes.
- Focus on one topic per lesson.
- Use engaging formats like videos or quizzes.
- Add real-world examples.
- Ensure logical flow between lessons.
The easier your lessons are for your users to understand, the better retention and engagement you can expect.
Incorporation of Interactive Elements
The online teaching landscape is becoming increasingly competitive, making it harder than ever to retain users. This is where interactive materials can make a significant difference!
Incorporating elements like points, badges, quizzes, and other gamified features can make your microlearning courses far more engaging and appealing. Numerous gamified learning platforms are available online to help you create these interactive experiences.
Here are a few bits that can help too:
- Add leaderboards for competition.
- Use interactive storytelling for engagement.
- Offer adaptive challenges based on skill level.
- Include forums or live Q&A for interaction.
- Provide progress dashboards for motivation.
Accessibility and Usability
No matter how great your courses are, they won’t be effective if they’re not easily accessible. It’s important to consider learners with disabilities and special needs.
To address this, ensure your microlearning courses are accessible across various devices and available in multiple formats. Additionally, prioritize a smooth user experience to keep learners engaged from start to finish.
Some things you can follow to ensure better accessibility and usability:
- Ensure access on all devices.
- Offer content in text, audio, and video formats.
- Add captions, transcripts, and screen reader support.
- Make navigation intuitive and seamless.
- Test accessibility regularly.
Set Up Microlearning Courses with AccessAlly: 4 Easy Steps
While microlearning courses offer numerous benefits, setting them up can be challenging without the right tools. That’s where AccessAlly comes in.
AccessAlly is a powerful WordPress plugin designed to build and manage online communities. It provides all the essential features to ensure online community engagement while making it easy to set up your courses exactly how you want them.
Step 1: Download and Install AccessAlly
First thing first, you need to go through the AccessAlly plans and choose the right one for you. Once’s done, download the zip file and follow these easy steps to complete installations.
- Log in to your site’s WordPress dashboard.
- Navigate to Plugins -> Add New -> Upload.
On the next page, upload the zip file you downloaded earlier and hit the Install Now button. Once the installation is complete, don’t forget to activate the plugin.
Step 2: Create Your Microlearning Course
Now that you have AccessAlly up and running, it’s time to create the courses as you imagined. And this is where AccessAlly won’t give you a single chance to complain. Let it be forms to collect leads or a page to showcase your course; you can do it all with this plugin.
Most importantly, you can classify your course into as many modules and lessons as you want.
Let’s jump in.
First thing first, head to the AccessAlly dashboard and click on Offerings.
From this page, hit the +CREATE button and choose the type of course you want to create. You can also choose to create it from scratch, exactly how you want.
Once you go through the naming field, you’ll be presented with more options than you’d need to create a microlearning course. But we’ll stick to showing how you can make the perfect microlearning lessons for your course.
On the next page, you’ll find the Content Pages section, where you can add as many lessons as you want to each module by clicking the +ADD button.
To add a new module, click the +ADD button at the top and select New Module.
On the next page, you’ll have the option to add the number of lessons you want. While you are at it, don’t forget to name the module and lessons.
By selecting the edit icon, you can set each lesson as a post or page and rename them according to your preference.
Following these steps, you can use as many modules and lessons as you want. You can also drip your content by clicking on the “Play” button next to the module title.
Step 3: Add Interactive Elements to Your Microlearning Courses
Since the primary goal of creating microlearning courses is to keep your learners hooked throughout a complicated course, AccessAlly has more features you can take advantage of.
You can add quizzes, points, badges, and certificates to wherever you like in your course. These interactive materials will ensure better engagement for each lesson.
But before we add interactive elements, save the modules and lessons you have created and hit the edit button on the page where you want to add something.
On the new window, scroll down until you find the options to add quizzes, media items, certificates, and more!
Play with each option and determine what might work best for your microlearning courses.
Start Incorporating Microlearning Courses Before It’s Too Late!
We hope this blog was helpful enough to enlighten you about microlearning courses and how they can benefit your LMS. With shorter attention spans becoming the norm, there’s no option but microlearning courses to keep your learners hooked.
By breaking down complex topics into manageable, engaging lessons, you’ll improve learner retention and make education more accessible and enjoyable. While at it, remember to utilize the best practices we shared in this blog.
If your current tool does not offer the right features for creating a microlearning course, give AccessAlly a try. It can be your ultimate ally in the LMS world, a one-stop solution for all your LMS needs.
If you liked this blog, follow us on YouTube and Linkedin, and don’t miss our free demo!


